|
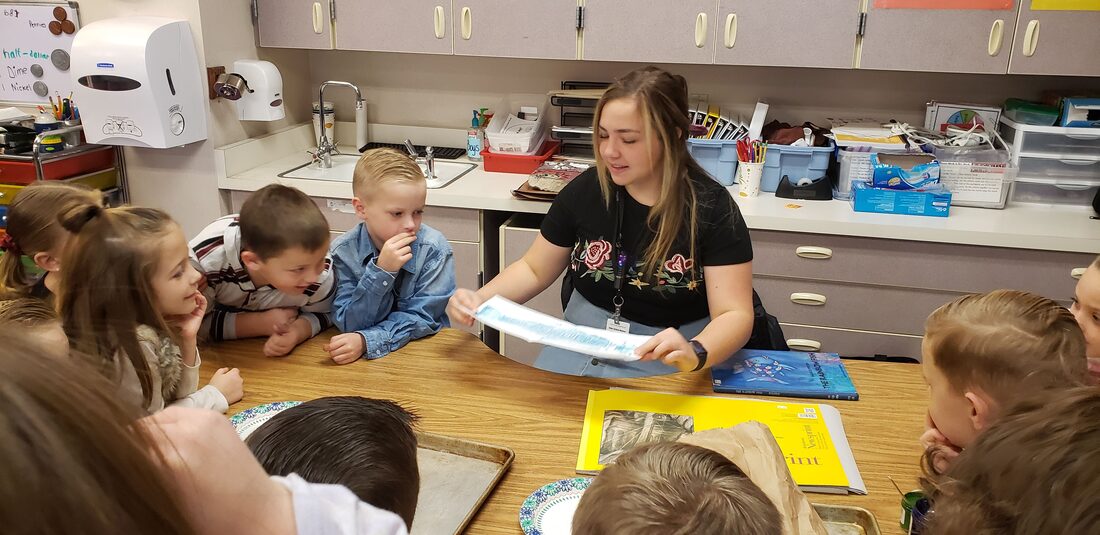
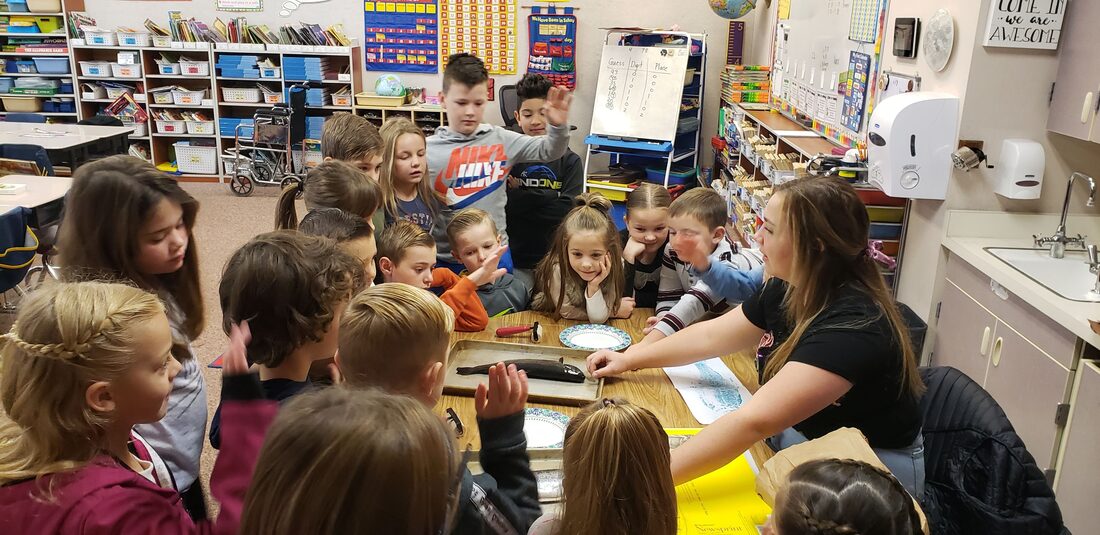
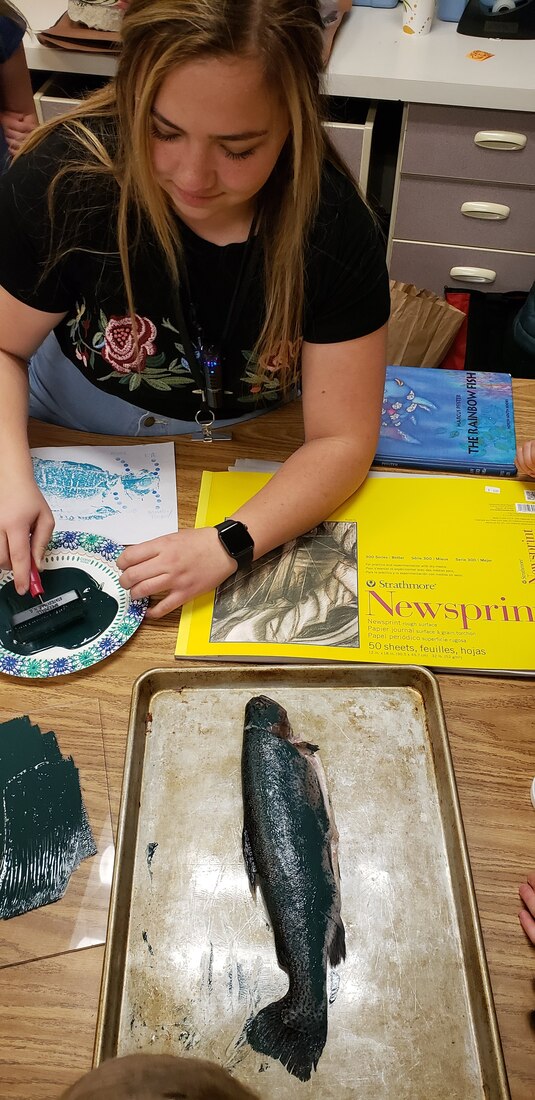
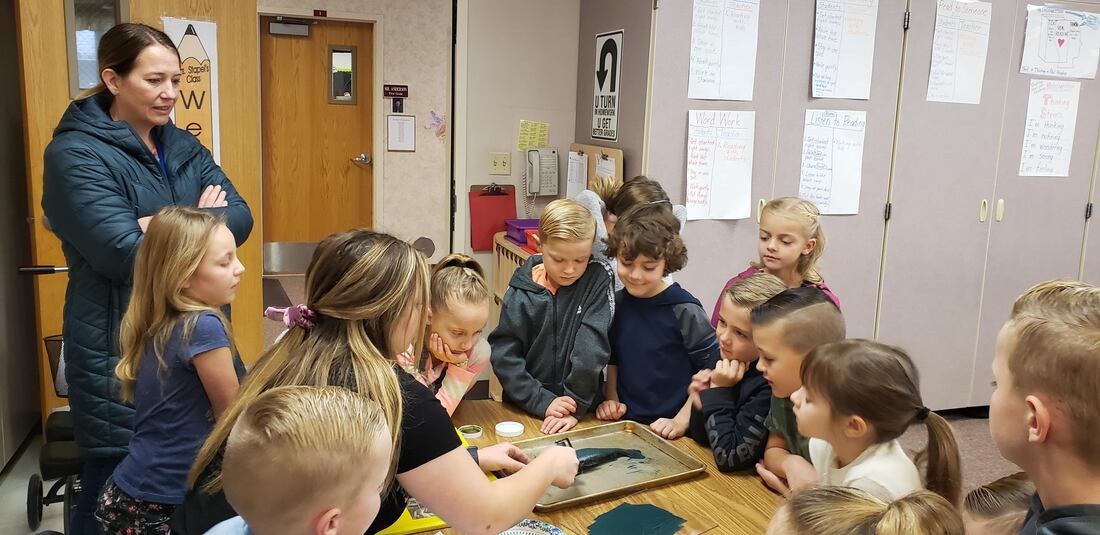
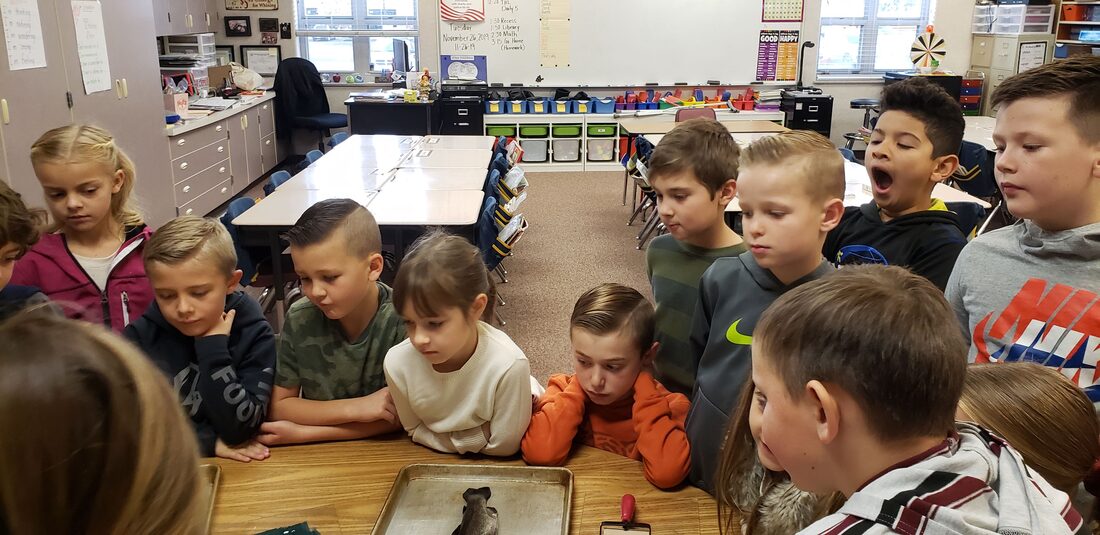
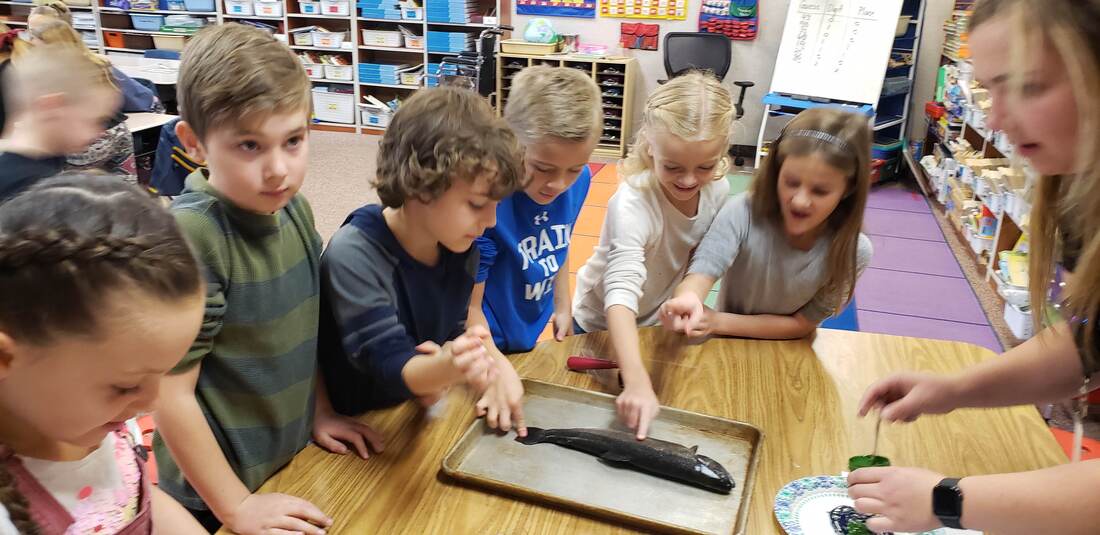
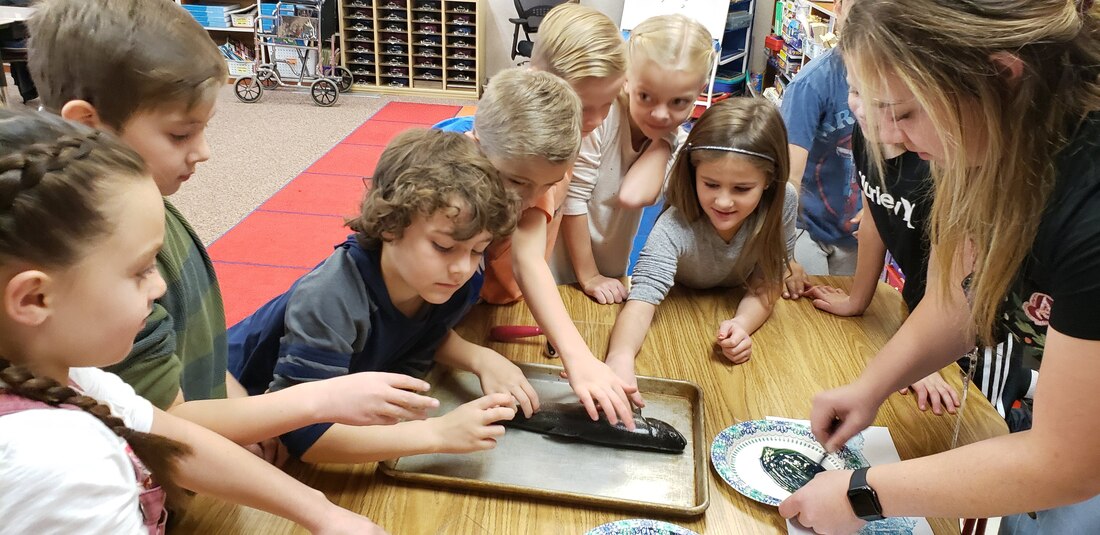
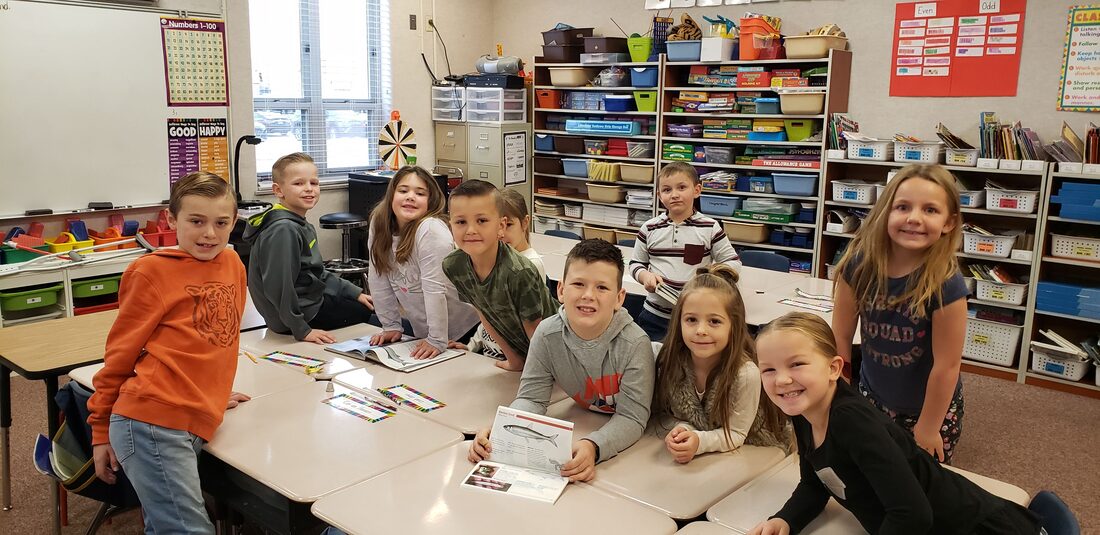
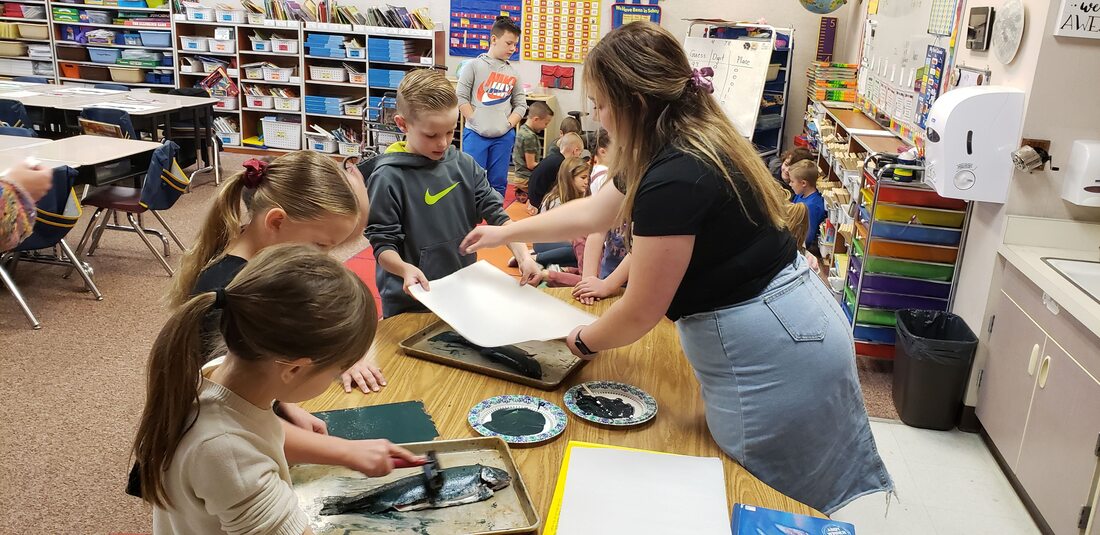
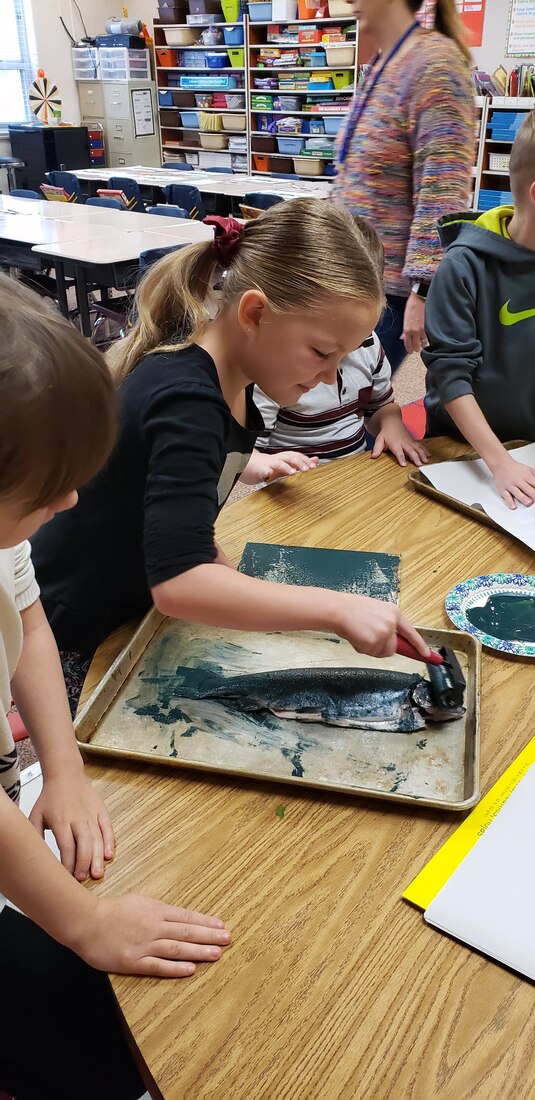
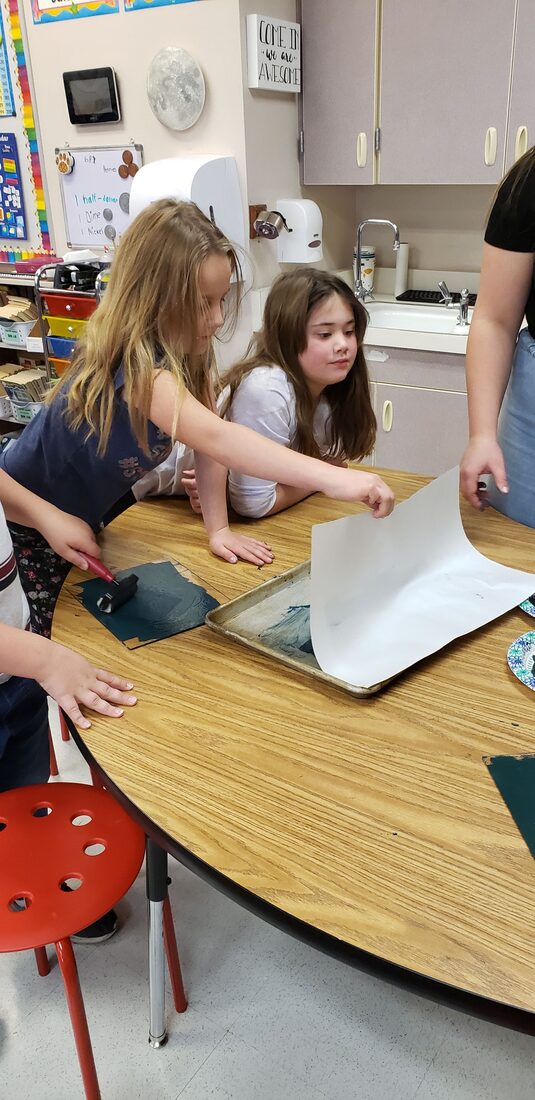
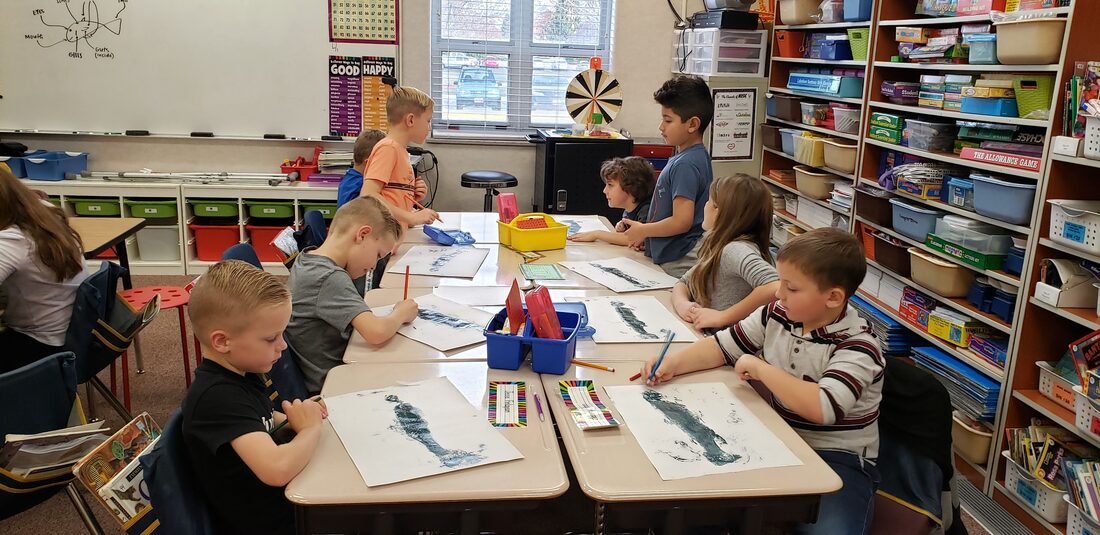
Science and Visual Art Integration *The idea of this lesson is courtesy of my kindergarten teacher, Jen Terry :)* This is the lesson I was most excited for all year. Science was one of my favorite subjects in elementary school and I think it is the perfect subject to integrate with art! A dead trout is required for this lesson's success. Can be caught in a river, or purchased at your local grocery store. Additionally, block printing ink, a brayer or two, 12x18" paper, and some plexi glass is all you need. Print making. Dead fish. Mapping it out. Need I say more? I guess I will so you can see how I did things ;) During the course of the past few months, I've learned that I love beginning my lessons with reading a book or two with the children. On this day, we read the classic, Rainbow Fish by Marcus Pfister. Mind you, the students were not aware that they were about to be exposed to a dead trout. But when they were, they LOVED it. I let them touch it and see how it felt. Then, I introduced them to print making: roll the brayer in the paint, onto the plexi glass until sticky, then onto the fish. Press the paper down onto the fish and peel. The students quickly got to work! For the sake of efficiency, I purchased two trout so two students could be working on this at a time. In the mean time, other students spent some good ol' fashion time in the encyclopedia - finding fish facts! Eventually, all the students completed their prints and it was time to map. Mapping is very beneficial for students to learn new vocabulary, make connections, and gain an understanding of the subject matter. So, we spent some time learning the different parts of the trout and mapped them! Overall, this lesson went really well! The kids LOVED it and I think it'll be something they never forget! A few things learned...
0 Comments
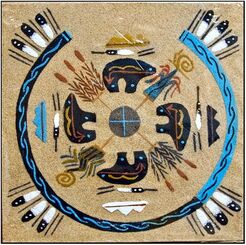
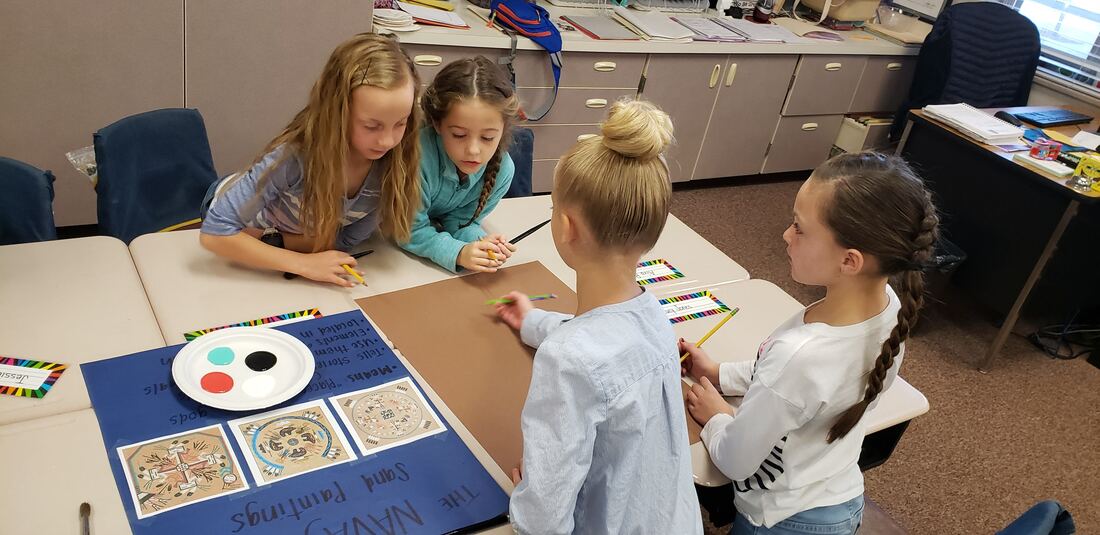
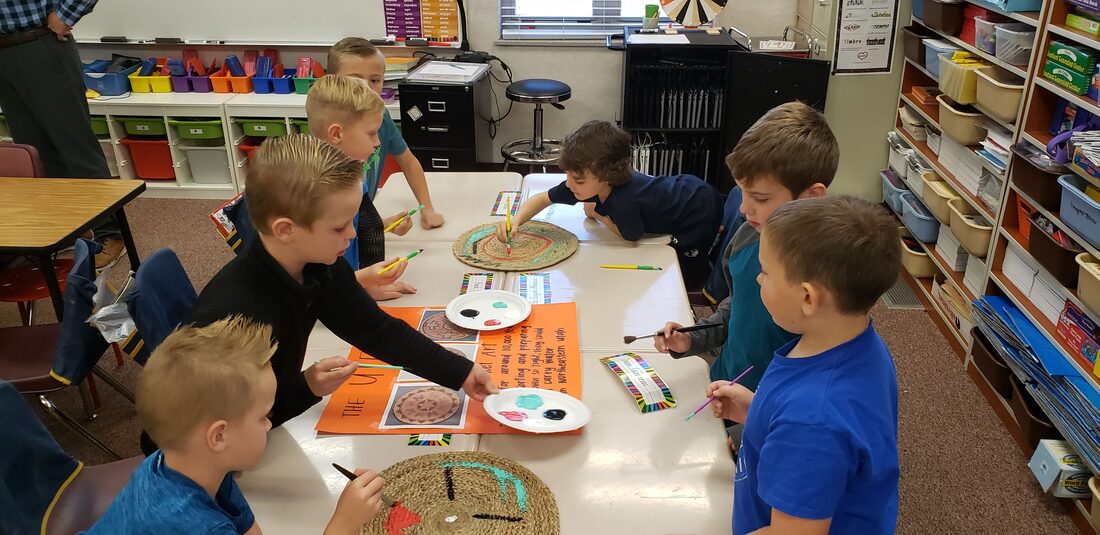
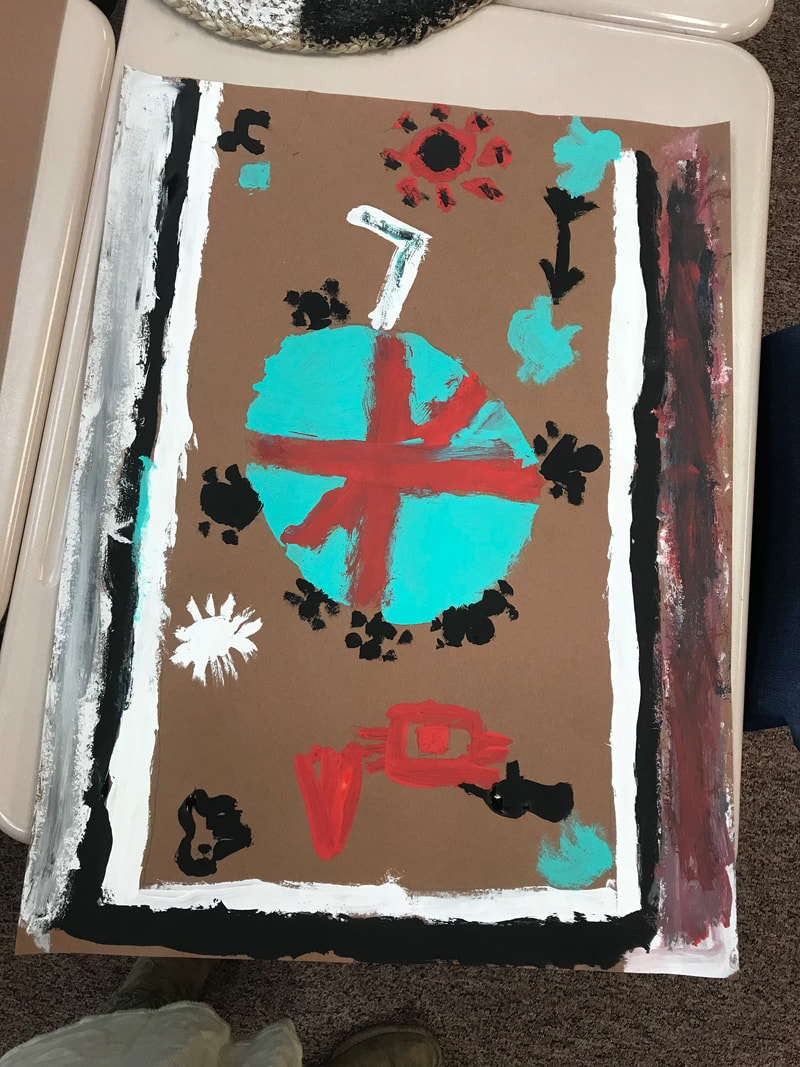
Social Studies and Visual Art Integration I struggled for a good while trying to come up with a social studies and art integration lesson. I researched and asked and racked my brain for ideas for a solid two weeks. Nothing. Finally, a few days before I was supposed to go in, my creative juices started to flow. I thought back to elementary school when I was learning about the Native American tribes in Utah. Then, I decided to look up unique art from these tribes. Here's what I found: The Navajo Tribe - SAND PAINTINGS
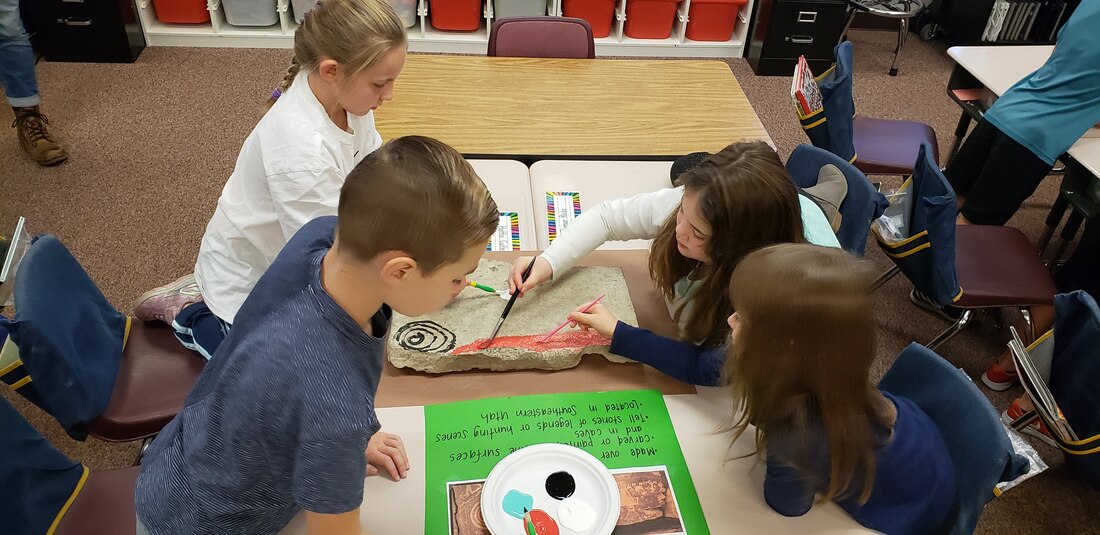
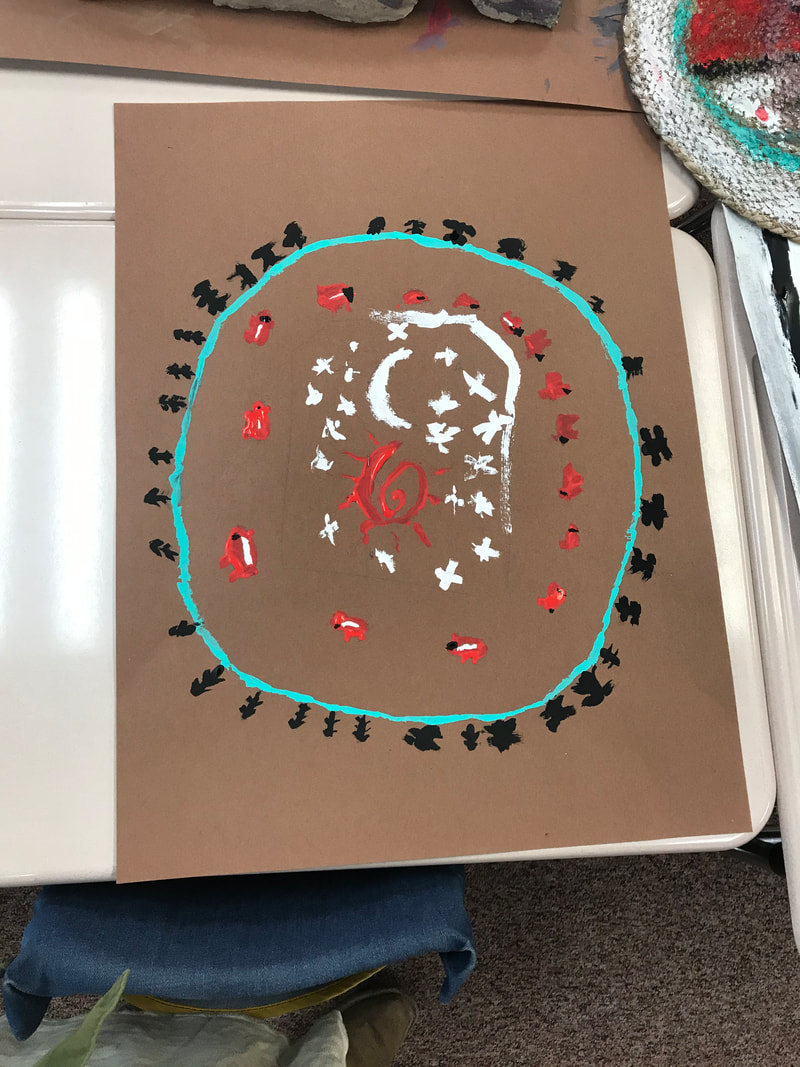
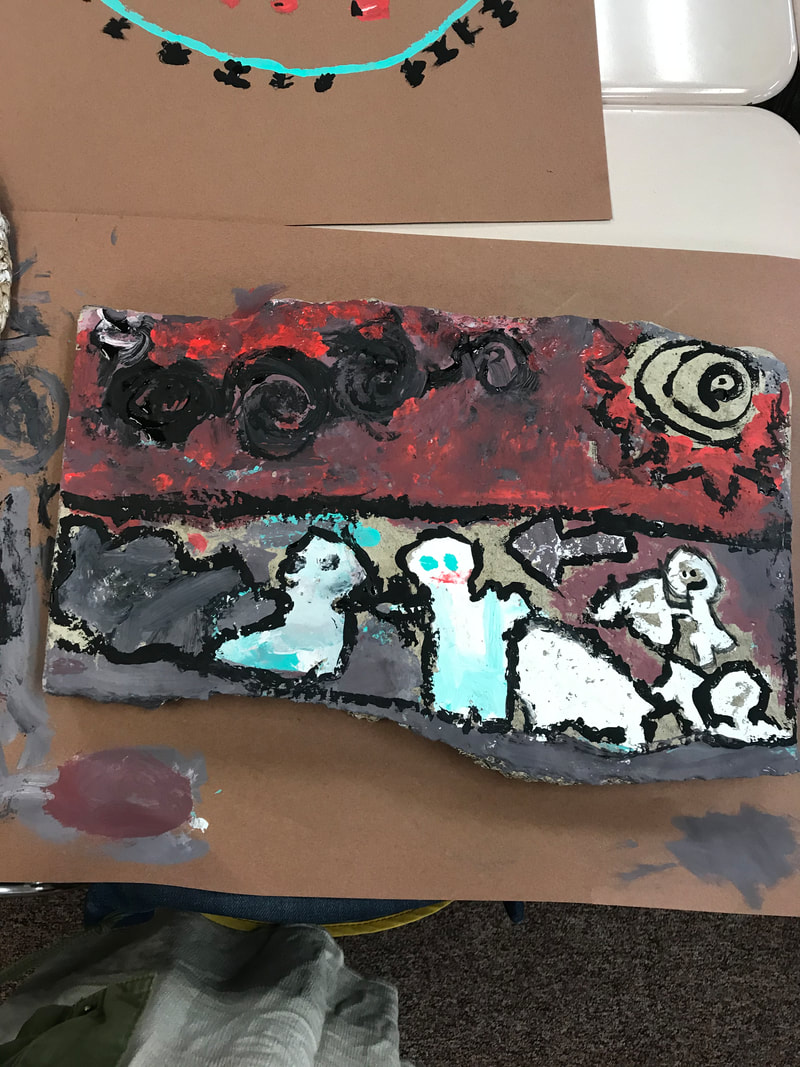
I found a common work of art that the Navajo people created were sand paintings. They literally mean, “Places where the gods come and go," and are often used in ceremonies to tell stories of Navajo legends. The Anasazi Tribe - PETROGLYPHS 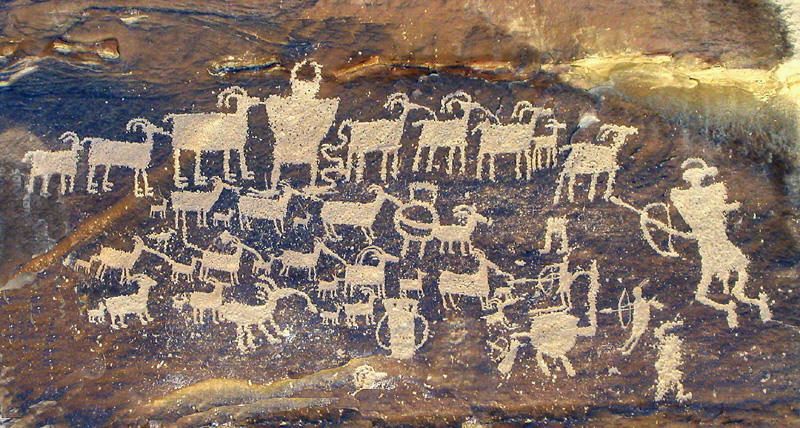 Made over 8,000 years ago, the Anasazi people carved or painted on stone surfaces stories of legends or hunting scenes. The Ute Tribe - BASKET ART
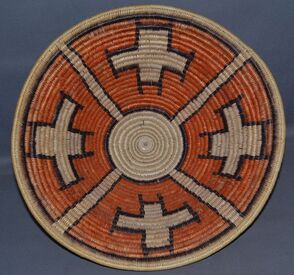
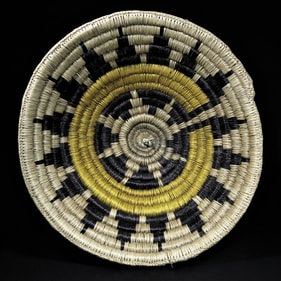
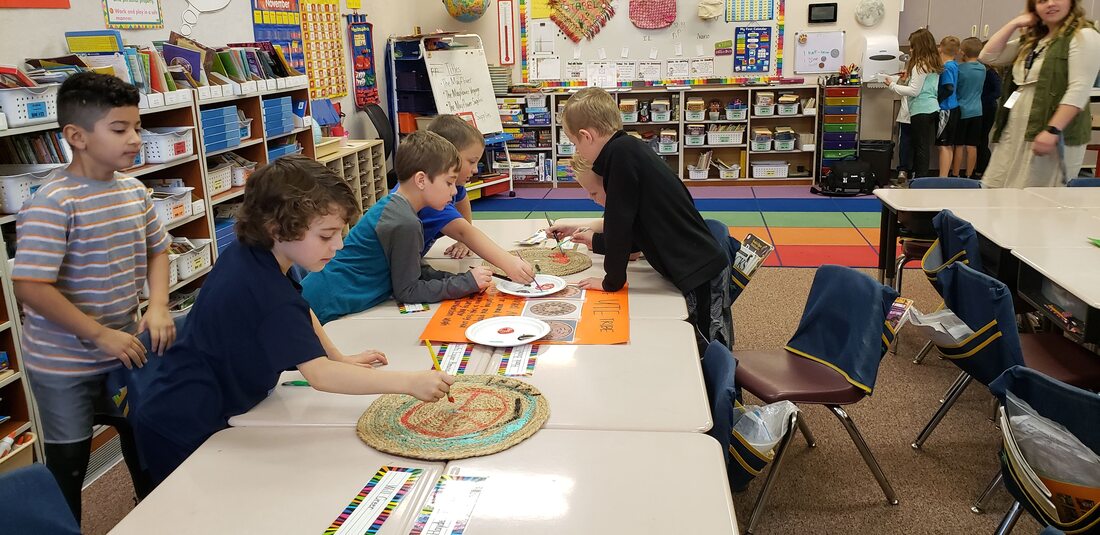
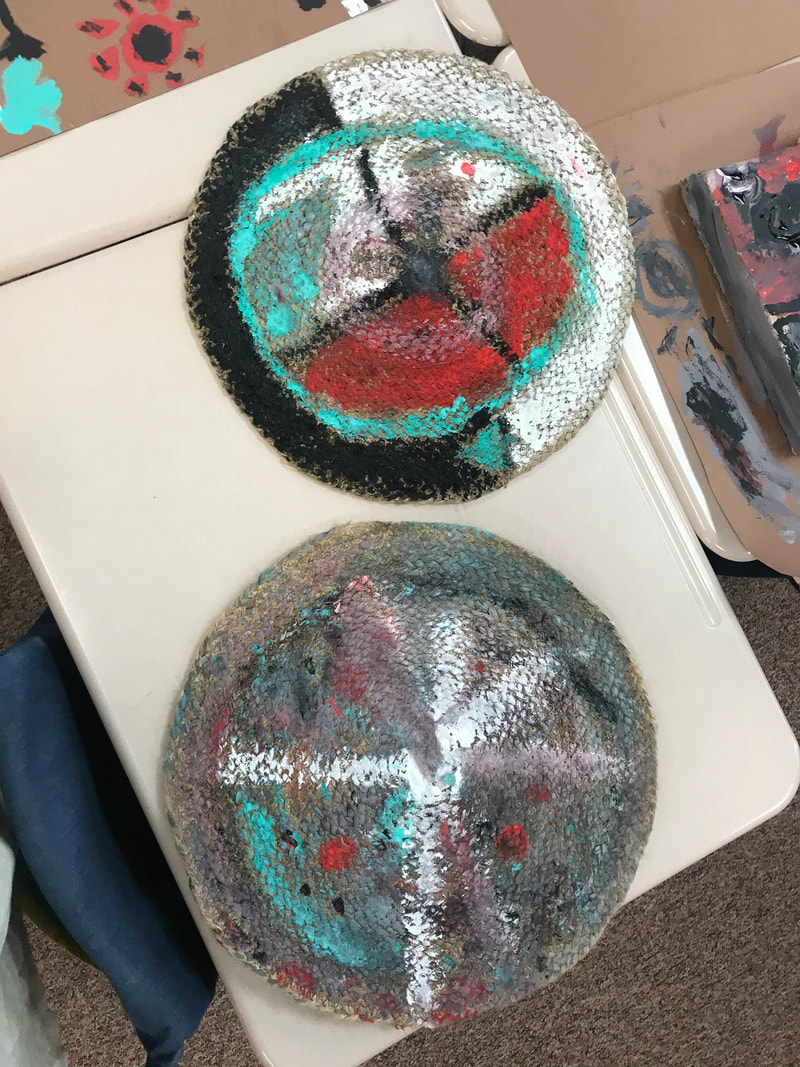
The Utes are known for their basket making for the past 10,000 years. They would weave designs into their baskets. The baskets were often woven so tightly, they could be used to hold water; they were most often used for food sorting and prep. After doing this research, my wheels began to turn. How could I recreate this in a 2nd grade classroom? Then I thought, well, the sand paintings could easily be recreated on brown butcher paper or poster boards; I have a random 2x2' concrete slab at home that I could bring for the rock art / petroglyphs, and if I didn't have that, could use cardboard; if I could find some kind of flat-ish baskets, we could use that for the basket art. I wound up finding some tan, woven place mats from Kohl's that worked! I finally had my plan! I got some acrylic paints and brushes and packed my things for class. To begin class, we read from The Legend of the Indian Paintbrush by Tomie dePaola - the perfect introductory book for this lesson. Then, with some simple posters I created, I explained the various Native American tribes of Utah and their respective art. I sent the students back to their desks (which are set up in three groups of 4-8 students). Each group was assigned to a tribe and would recreate the type of art their tribe made. Group one - sand paintings. Group two - petroglyphs. Group three - basket art. The students loved it! I honestly don't think the lesson could have gone any better. I was very impressed with the designs they came up with!
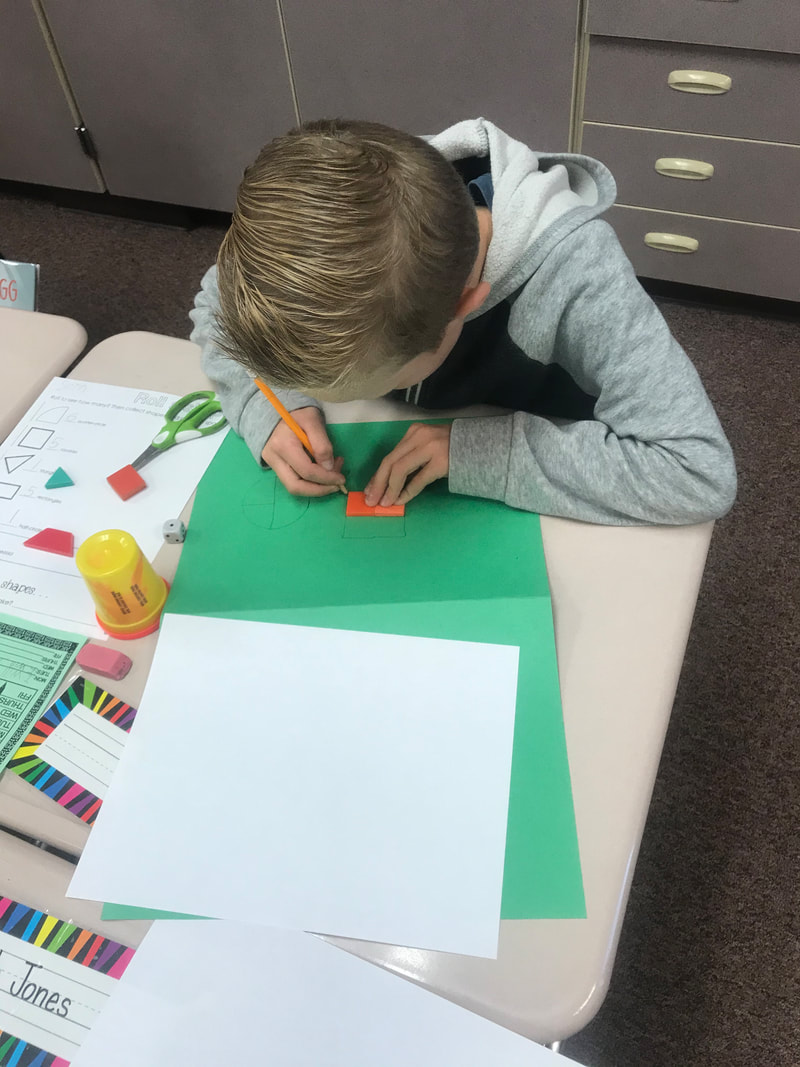
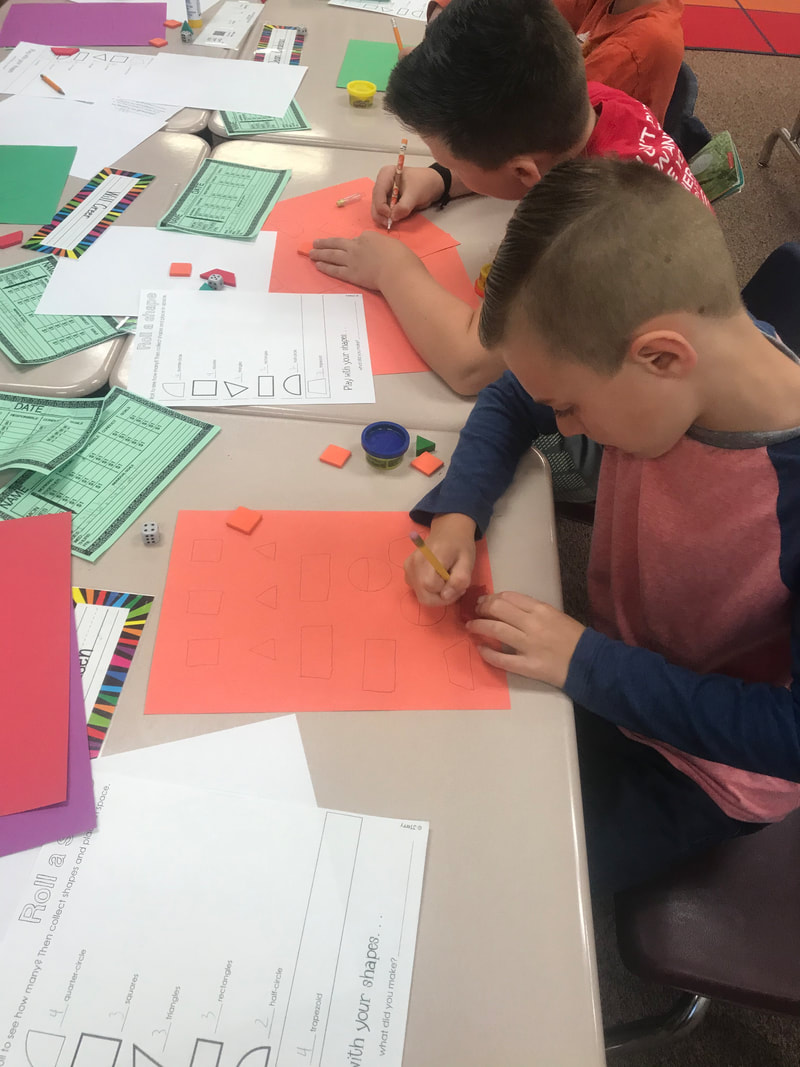
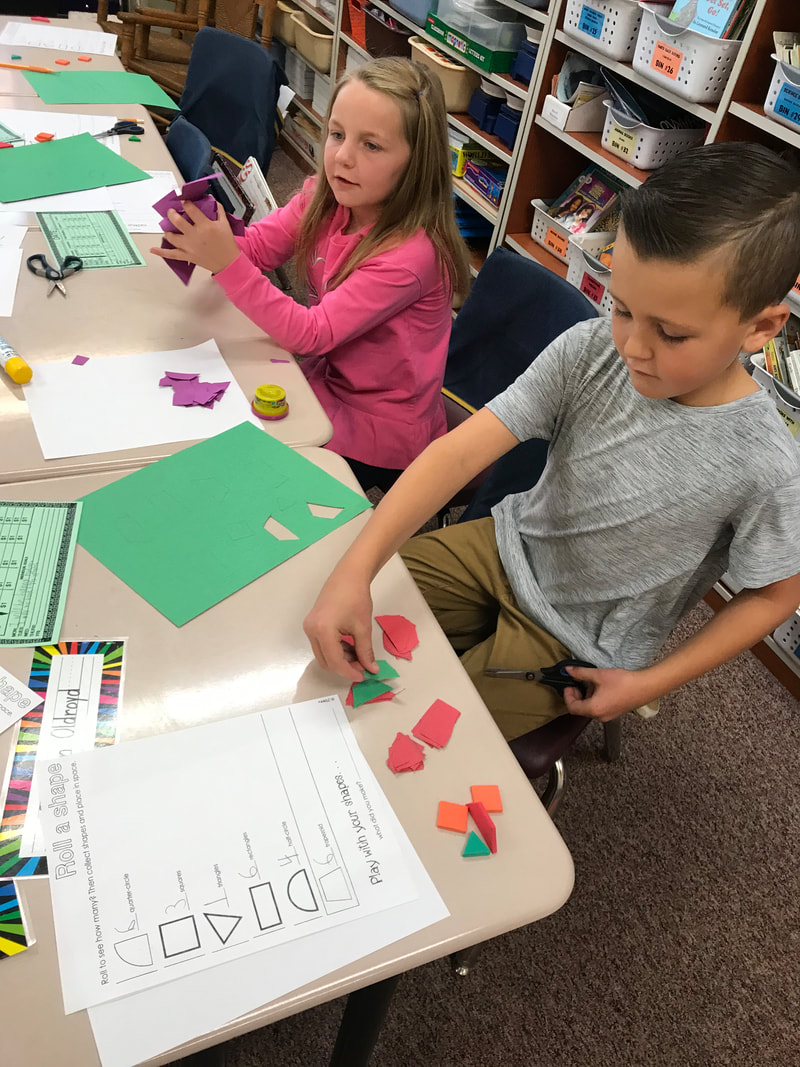
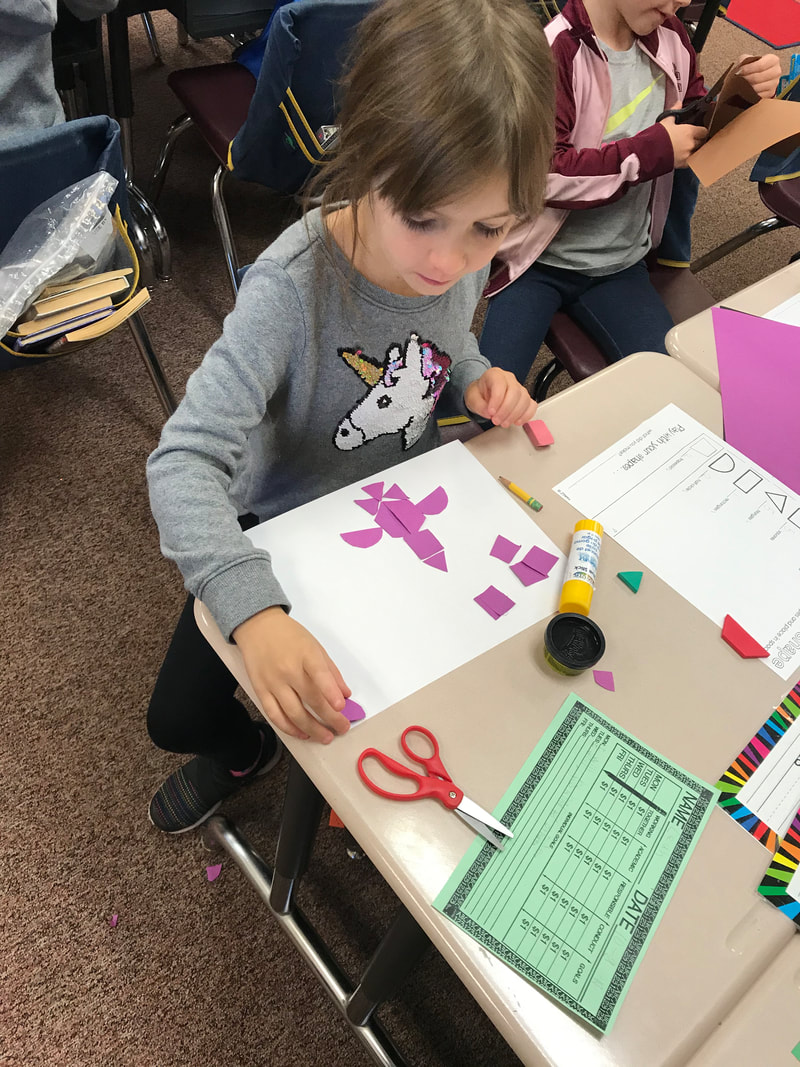
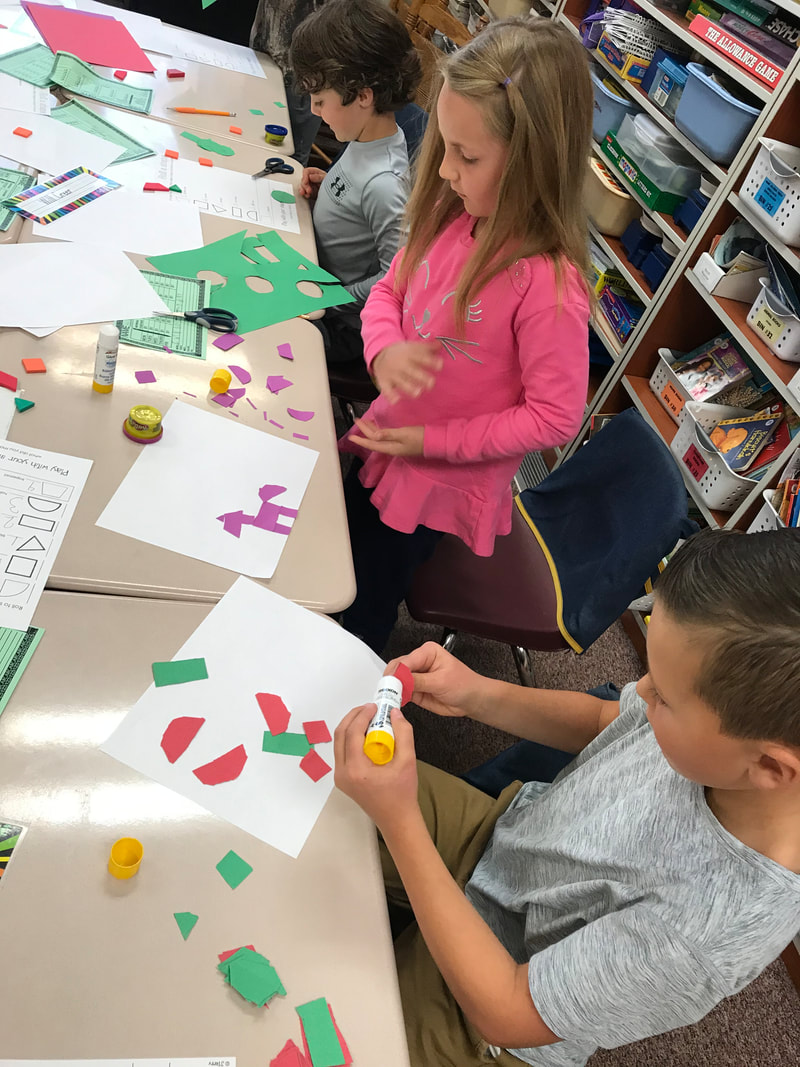
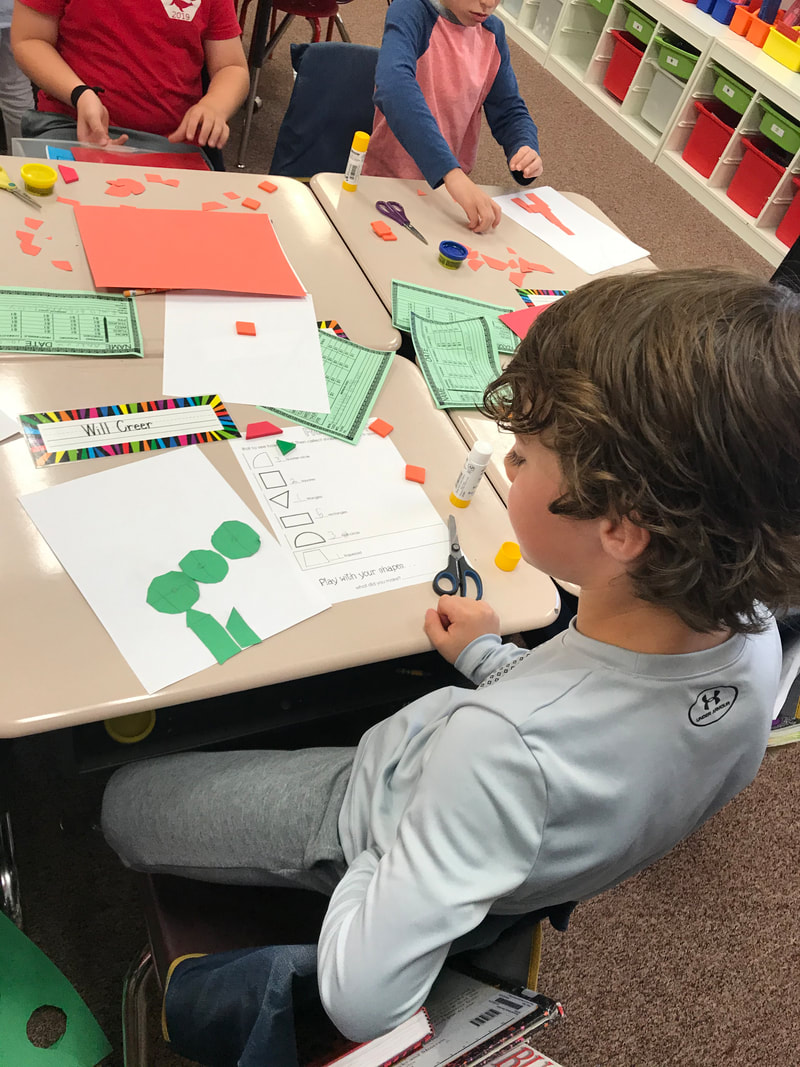
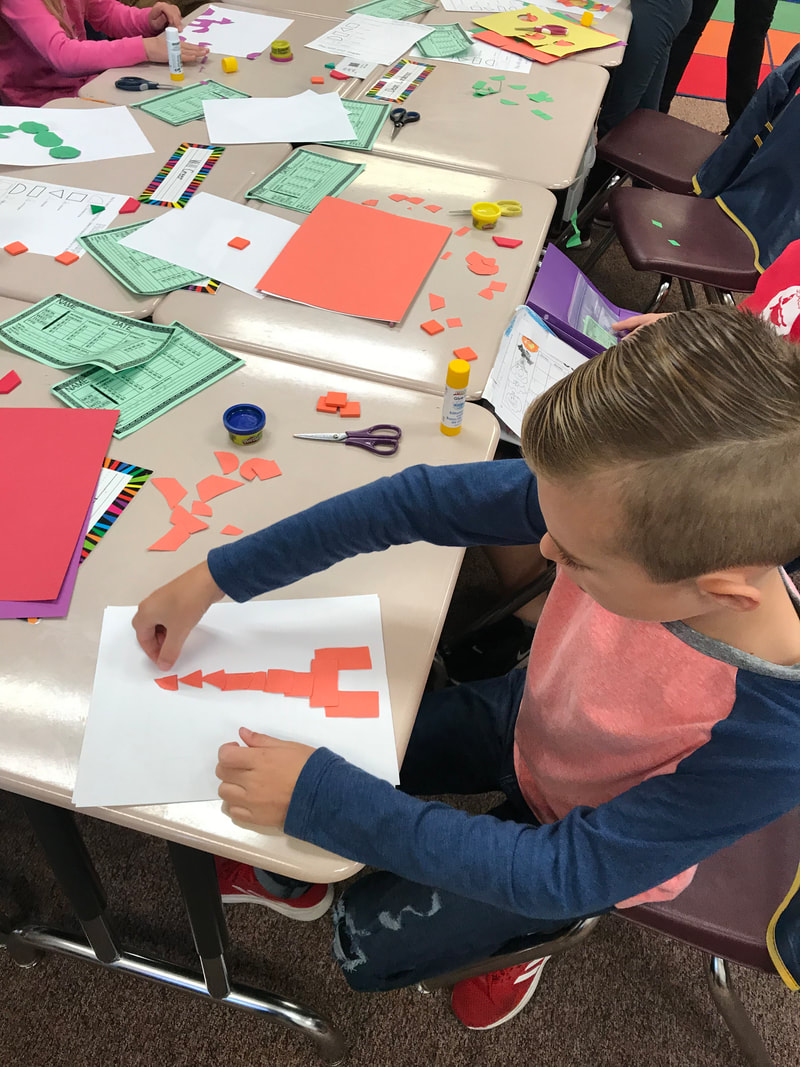
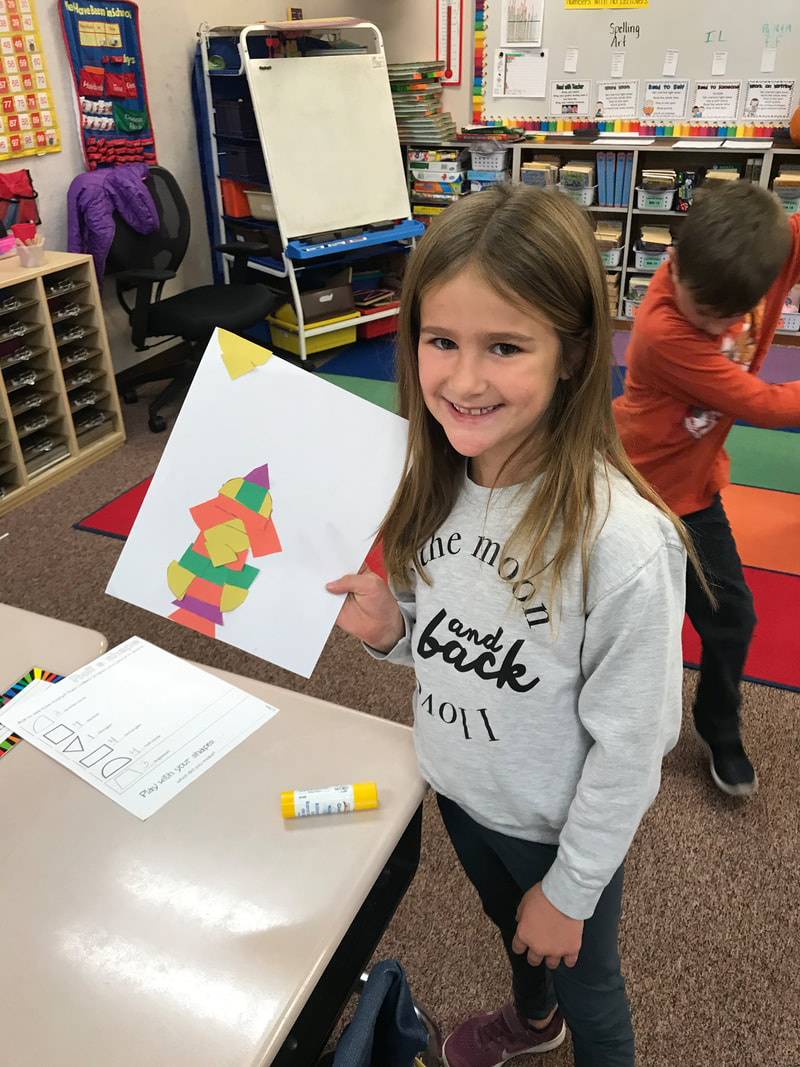
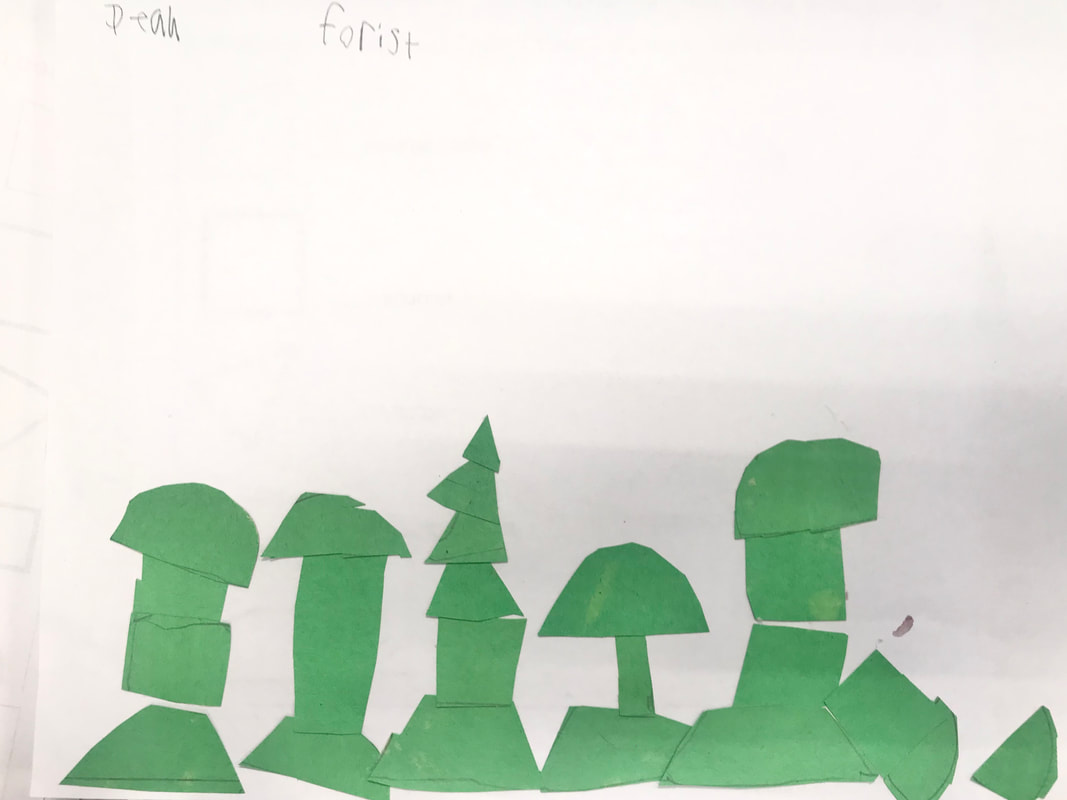
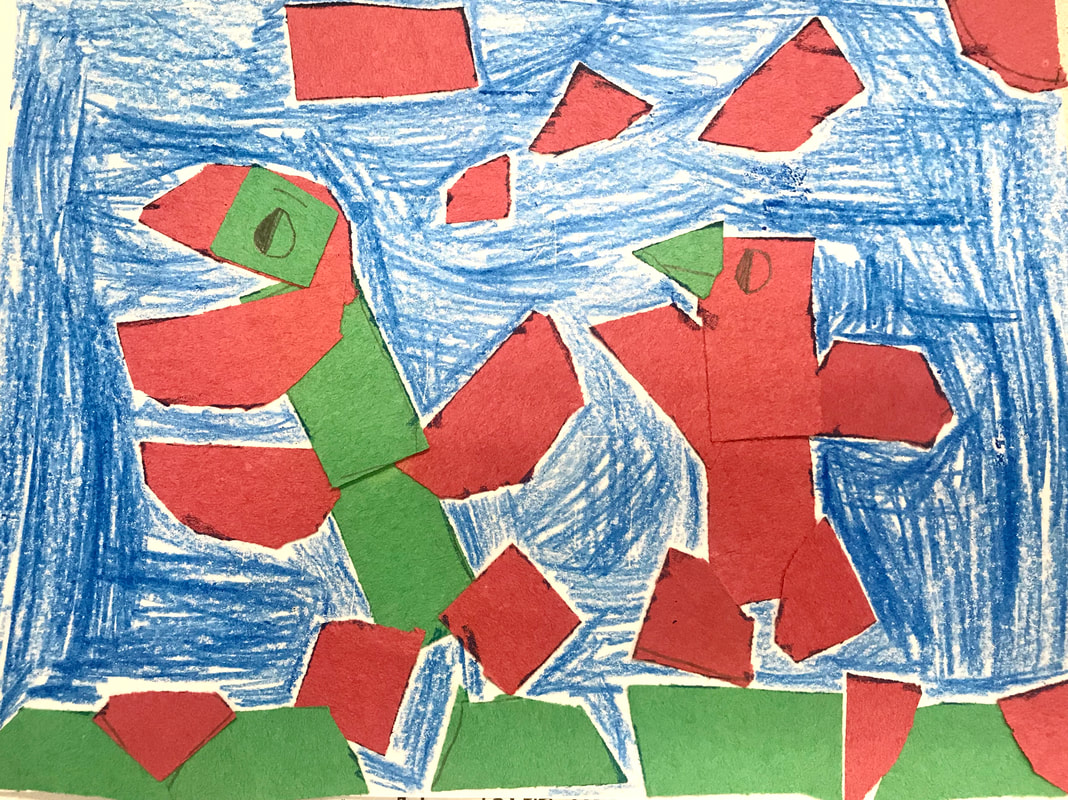
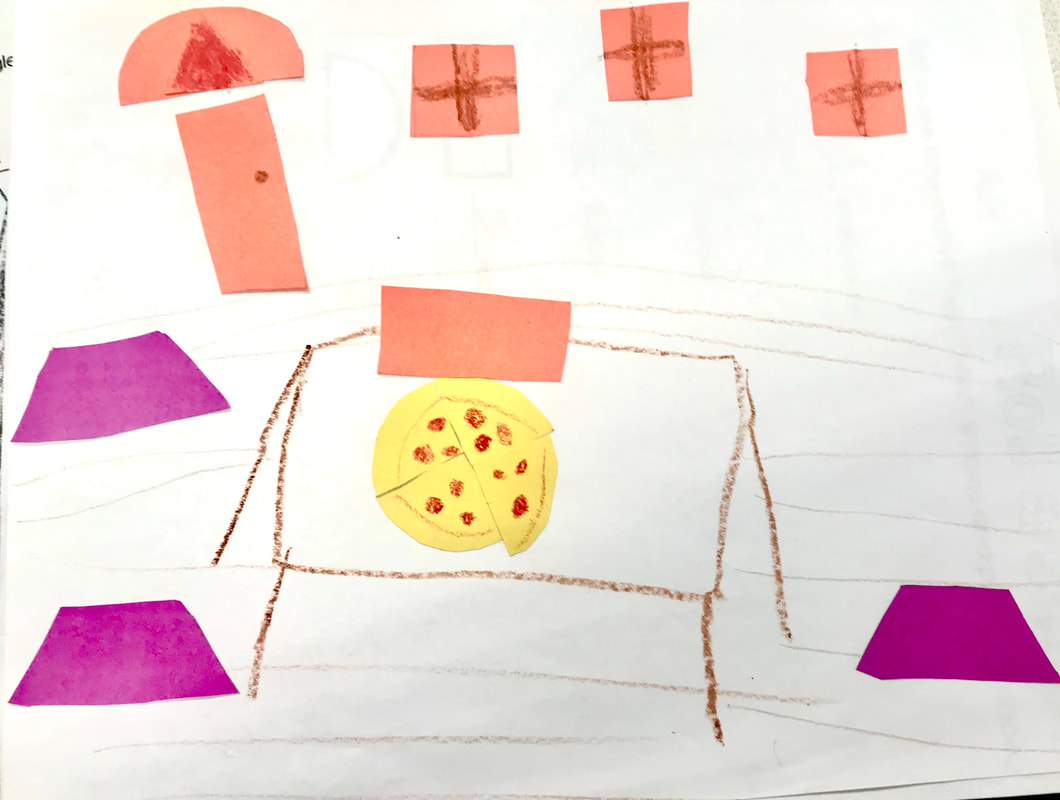
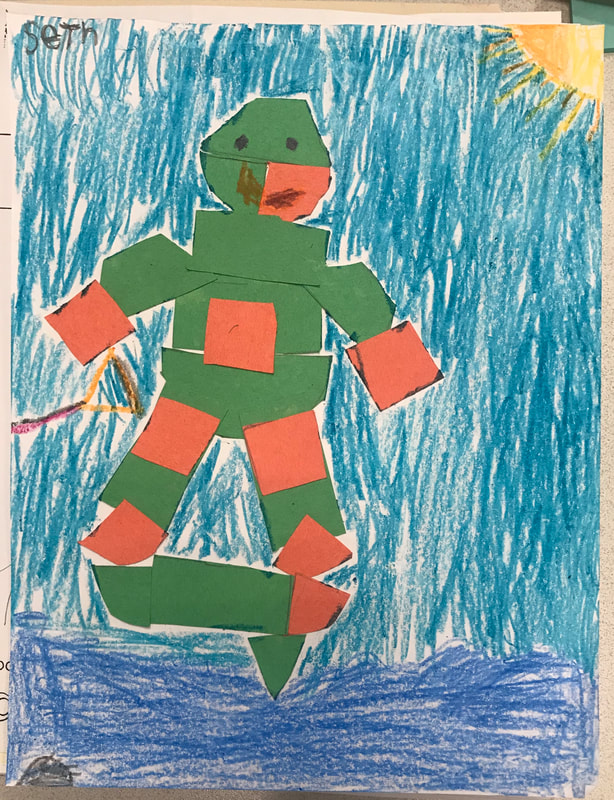
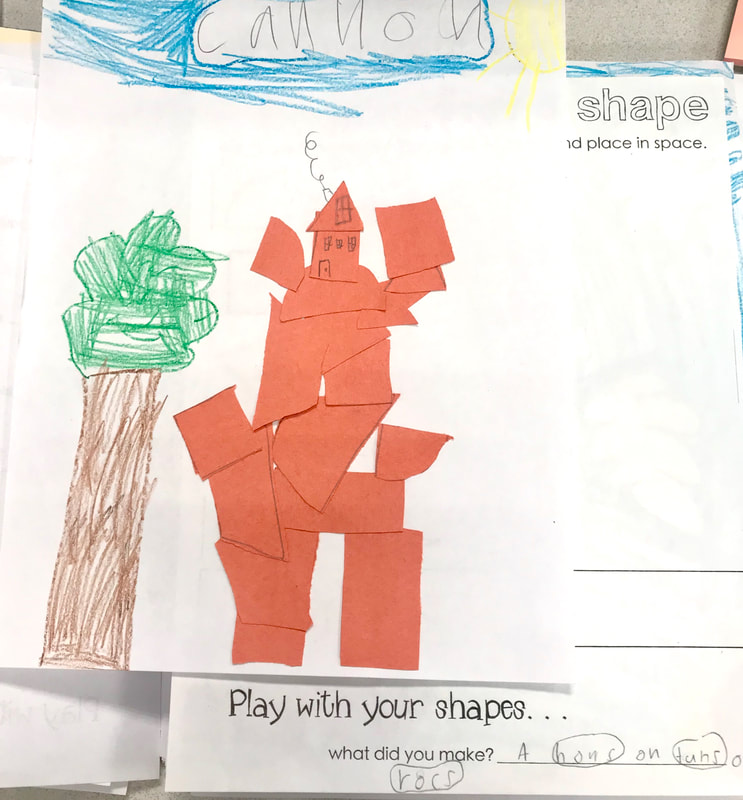
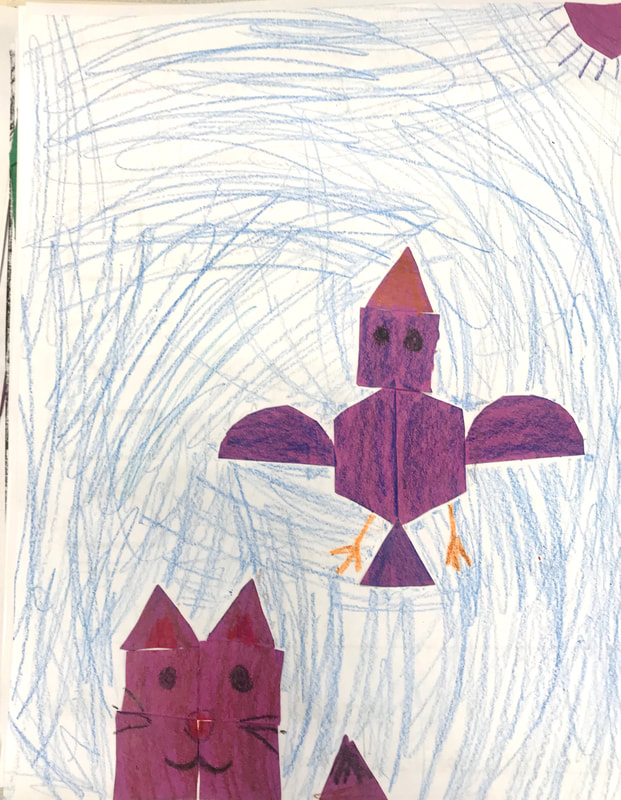
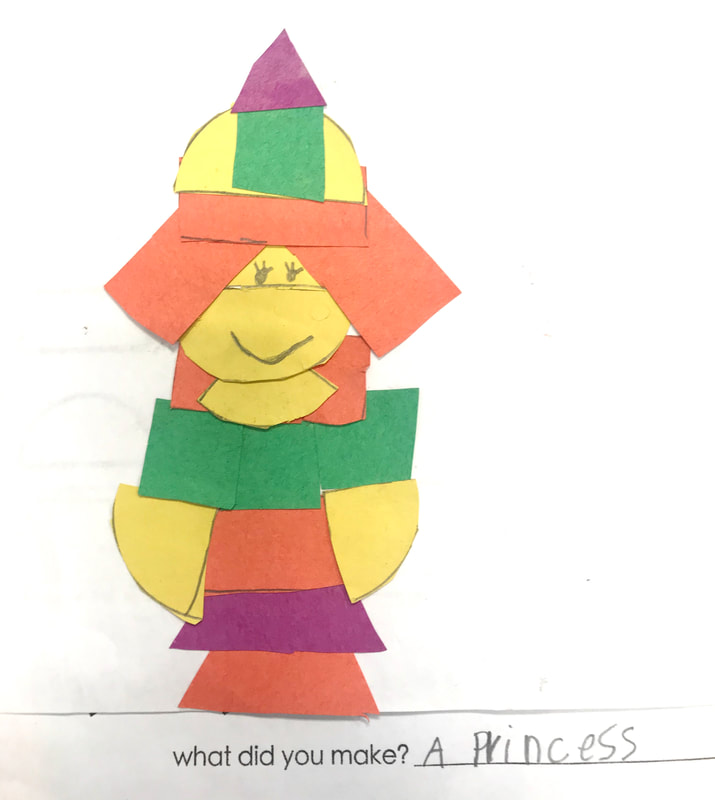
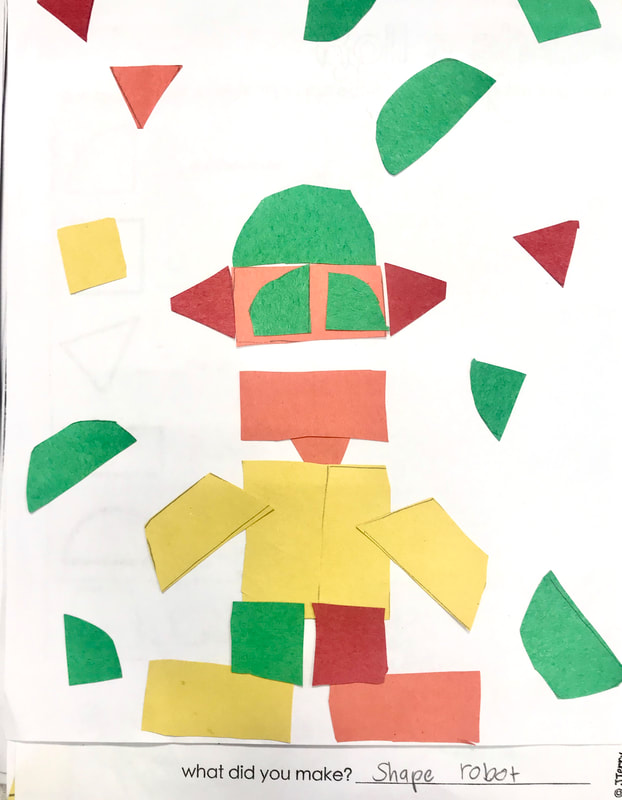
Math and Visual Art Integration *The idea of this lesson is courtesy of my kindergarten teacher, Jen Terry :)* This was a fun lesson! It took a little longer than expected, so we broke it into two different lessons. Mrs. Stapel was unable to be there for the first lesson, so we had the help from a great substitute teacher! I gave the students a worksheet with 6 different shapes on it: a quarter-circle, square, triangle, rectangle, half-circle, and trapezoid. I also gave each student a dice. They were instructed to roll the dice for each shape and write the number they rolled next to their shape. Then, with pattern shapes, they traced the shapes onto colored construction paper. For example, if a student rolled a 3 for squares, they would trace 3 squares on colored paper. Once the students had all of their shapes traced on a piece of paper, they cut them out and with their various shapes, formed a design on a blank piece of paper. They could create anything they want with their shapes. Their designs were impressive! On the teaching side of things, I found that giving all directions at the beginning and giving examples was most effective. Students caught on quickly and asked questions when appropriate, which was great! The only hiccup we had was when we found out there were no circle pattern shapes that we could use to trace. Circular stencils would have worked great, but we didn't have those. We were quick on our feet, and used glue sticks and play-dough cans to trace for the circles! Improvising is always a good skill to develop :)
|
|||||||||||